Photo by Marcus Ganahl on Unsplash
Grabbing the CSS ...
This article will focus on "CSS element Selector".
Table of contents
No headings in the article.
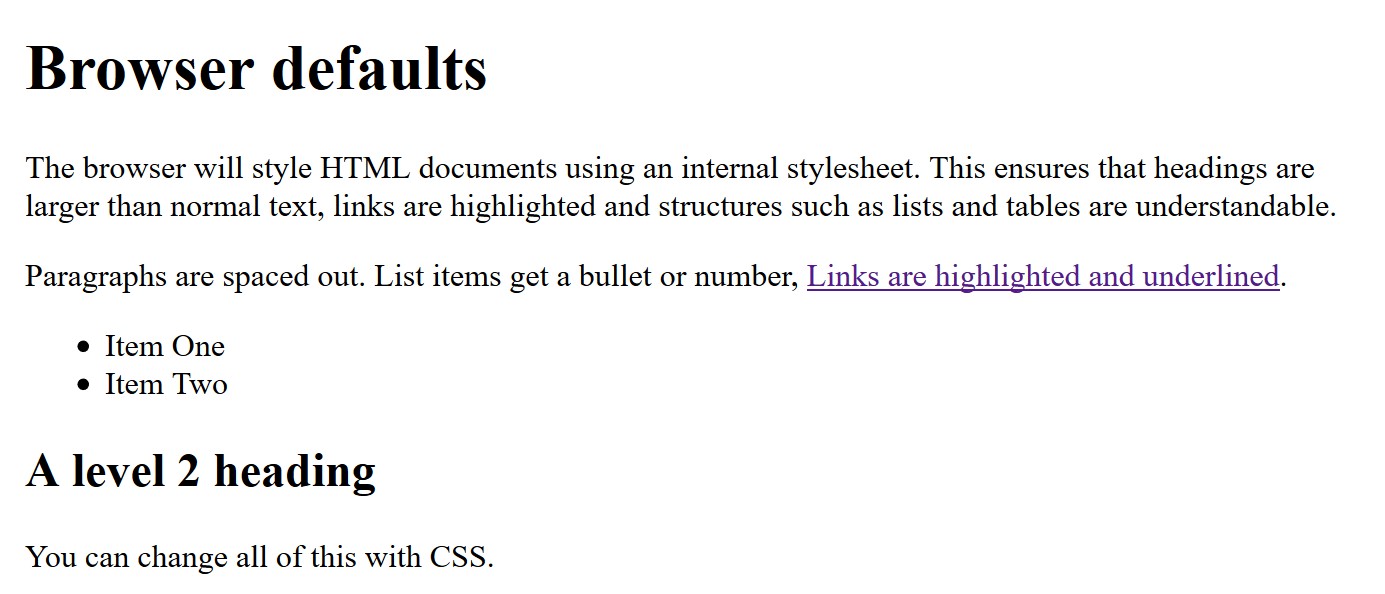
The document when viewed in the browser made with just HTML alone is a canvas with some Heading, Paragraph, Image, video, and a few more important stuff but honestly, it all looks so plain and unarranged.
That's when CSS - Cascading Style Sheet comes into the picture to make this plain-looking Website a whole lot more interesting with some <style> </style> magic in your document.
eg -  an image form MDN for example.
What is CSS 🤔?
According to MDN- While HTML is used to define the structure and semantics of your content, CSS is used to style it and lay it out.
What this means is that when we write HTML we mainly focus on What and Where things will be on the webpage. Like where is the heading going to be?, in the same way which image is going to be where?, and that's how we define the webpage. (this is called defining the webpage). But now, if you wonder How I make my 'heading' font look different or How I change the background of the website to different color, for all of these actions we use CSS. In short, CSS gives you the superpower of doing all of these and many more amazing styling to your webpage. Apart from color and fonts, CSS can be used for styling the layout of the page i.e. The way all of the HTML you wrote will be presented to users when they visit your website.
How to add the magic 😲?
In order to use the power of CSS, we need to know how to select the particular TAG or ELEMENT or CLASS or ID from the HTML code which needs the CSS treatment.
There are many ways of selecting one single element in the document, which are called CSS Selectors. So now, we know why we use CSS so let's see how we use CSS first-hand.
Types of Selectors
There are many kinds of CSS selectors to choose from, but in this article, we will have a look at the most common and the most used selectors in a developer journey.
- Universal Selector
Universal is a self-explanatory word, which obviously means that when I select the universal element i.e. *{ } (we use '*' to denote universal) all the CSS properties, we set here will act as the default.
If I do *{ margin : 0px} then from then onwards the default margin which comes with HTML property will be set to 0.
- Individual Selector
When we want to select a specific element from that HTML document, then we use an individual selector, i.e. [tag name] { }.
This is more specific than the universal selector. That means if we put any CSS property inside an individual selector that will override the default. Eg -
H1{
      background-color : "#ef9323"
}
It will override the black color of the default H1 Tag and apply the custom CSS property, which I just applied to it.
- Class and ID selector
We use classes as an attribute of HTML tags which we further use to give personalized CSS properties as per the project's need. Classes can be reused all over the HTML document. But IDs should be rare and used as less as possible to make them more specific and precise.
In the context of CSS, we treat class and Id in the same way i.e. to apply our own custom properties to a certain element. Classes are meant to be reused because it serves the purpose of making two elements look exactly the same without having us write the same style property again in two places.
The way to select a class and an id is just slightly different-
/* class selector */
.class {
color : "#f4f4f4";
}
/* id selector */
#id {
color : " #f4f4f4 ";
}
- And Selector
Just like normal English, And selector in CSS mean the same i.e. if I write two elements with any special character in between, then whatever property will be defined next give that property to both or all of the elements written. eg-
H1.class1 {
background-color: " #ffffff';
}
here background color will be set to both the H1 element and all the elements with a class of ".class" attribute attached to it.
- Combined Selector
It's essentially, the same thing as And selector the only difference here is, we use " ," as the differentiating character between the two elements which is being selected. eg-
H1, P, .class, #id{
padding : 10px;
}
all these elements will have padding of 10px applied to them.
- Children Selector
Here we'll see that there are many ways to select a child of any parent element. The meaning of the child element here is, that the element lies under another element which makes the other element parent of this particular element. and sibling means that both or all elements lie under the same parent. eg-
<body>
<!-- body here has a child which is 'div' -->
  <div>
  <!-- div here have children which are 'p, ul' -->
    <p> This is para. </p>
    <!--  p and ul are siblings here -->
    <ul>
      <!-- all the 'li' are siblings here -->
      <li class="first-item">item 1</li>
      <li>item 2</li>
      <li>item 3</li>
      <li>item 4</li>
    </ul>
  </div>
</body>
- Inside An Element
Using this type of element selector, we do not use any special character for selecting the child of a parent element. All we do is put a space between all the elements. like-
div ul li {
background-color: #4b35f1;
}
li which lies under a ul (unordered list) which then lies under a div will only have the background property.
-Direct child element
When we directly select the child element using smaller than arrow " > ".
div > p {
background-color: #fff;
}
-Sibling Selector
This type of selector is used to select the next element (neighboring element) by using a special character i.e. ' ~ ' or ' + ' , example-
.first-item + li {
color : blue;
}
here the exact next ' li ' to the one having a class of '.first-item' will be effected
